9.5 KiB
ASP.NET Core MVC / Razor Pages UI: Modals
While you can continue to use the standard Bootstrap way to create, open and manage modals in your applications, ABP Framework provides a flexible way to manage modals by automating common tasks for you.
Example: A modal dialog to create a new role entity
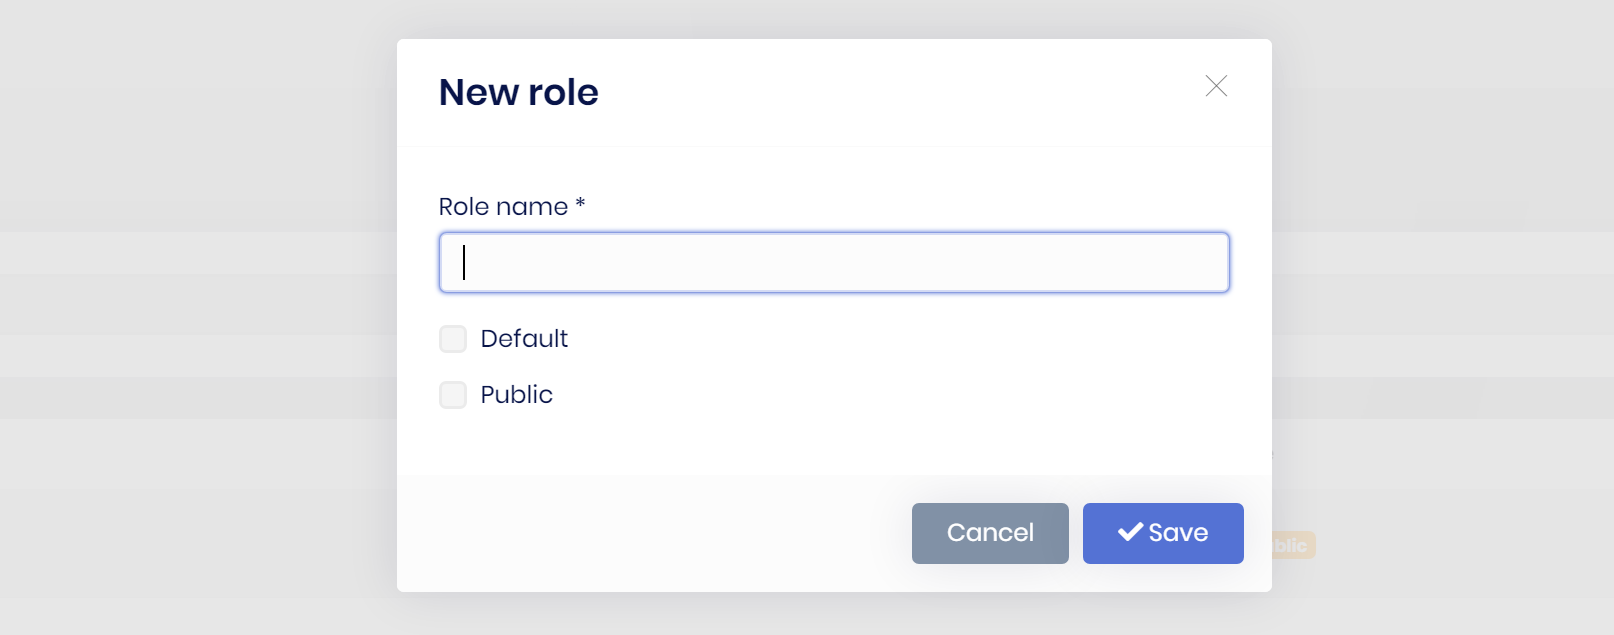
ABP Framework provides the following benefits for such a modal with a form inside it;
- Lazy loads the modal HTML into the page and removes it from the DOM once its closed. This makes easy to consume a reusable modal dialog. Also, every time you open the modal, it will be a fresh new modal, so you don't have to deal with resetting the modal content.
- Auto-focuses the first input of the form once the modal has been opened.
- Automatically determines the form inside a modal and posts the form via AJAX instead of normal page post.
- Automatically checks if the form inside the modal has changed, but not saved. It warns the user in this case.
- Automatically disables the modal buttons (save & cancel) until the AJAX operation completes.
- Makes it easy to register a JavaScript object that is initialized once the modal has loaded.
So, it makes you write less code when you deal with the modals, especially the modals with a form inside.
Basic Usage
Creating a Modal as a Razor Page
To demonstrate the usage, we are creating a simple Razor Page, named ProductInfoModal.cshtml, under the /Pages/Products folder:

ProductInfoModal.cshtml Content:
@page
@model MyProject.Web.Pages.Products.ProductInfoModalModel
@{
    Layout = null;
}
<abp-modal>
    <abp-modal-header title="Product Information"></abp-modal-header>
    <abp-modal-body>
        <h3>@Model.ProductName</h3>
        <div>
            <img src="@Model.ProductImageUrl" />
        </div>
        <p>
            @Model.ProductDescription
        </p>
        <p>
            <small><i>Reference: https://acme.com/catalog/</i></small>
        </p>
    </abp-modal-body>
    <abp-modal-footer buttons="Close"></abp-modal-footer>
</abp-modal>
- This page sets the
Layouttonullsince we will show this as a modal. So, no need to wrap with a layout. - It uses abp-modal tag helper to simplify creating the modal HTML code. You can use the standard Bootstrap modal code if you prefer it.
ProductInfoModalModel.cshtml.cs Content:
using Volo.Abp.AspNetCore.Mvc.UI.RazorPages;

namespace MyProject.Web.Pages.Products
{
    public class ProductInfoModalModel : AbpPageModel
    {
        public string ProductName { get; set; }

        public string ProductDescription { get; set; }

        public string ProductImageUrl { get; set; }

        public void OnGet()
        {
            ProductName = "Acme Indestructo Steel Ball";
            ProductDescription = "The ACME Indestructo Steel Ball is completely indestructible, there is nothing that can destroy it!";
            ProductImageUrl = "https://acme.com/catalog/acmeindestructo.jpg";
        }
    }
}
You can surely get the product info from a database or API. We are setting the properties hard-coded for the sake of simplicity,
Defining the Modal Manager
Once you have a modal, you can open it in any page using some simple JavaScript code.
First, create an abp.ModalManager object by setting the viewUrl, in the JavaScript file of the page that will use the modal:
var productInfoModal = new abp.ModalManager({
    viewUrl: '/Products/ProductInfoModal'
});
If you only need to specify the
viewUrl, you can directly pass it to theModalManagerconstructor, as a shortcut. Example:new abp.ModalManager('/Products/ProductInfoModal');
Opening the Modal
Then open the modal whenever you need:
productInfoModal.open();
You typically want to open the modal when something happens; For example, when the user clicks a button:
$('#OpenProductInfoModal').click(function(){
    productInfoModal.open();
});
The resulting modal will be like that:

Modals with Forms
abp.ModalManager handles various common tasks (described in the introduction) when you want to use a form inside the modal.
Example Modal with a Form
This section shows an example form to create a new product.
Creating the Razor Page
For this example, creating a new Razor Page, named ProductCreateModal.cshtml, under the /Pages/Products folder:

ProductCreateModal.cshtml Content:
@page
@using Volo.Abp.AspNetCore.Mvc.UI.Bootstrap.TagHelpers.Modal
@model MyProject.Web.Pages.Products.ProductCreateModalModel
@{
    Layout = null;
}
<form method="post" action="@Url.Page("/Products/ProductCreateModal")">
    <abp-modal>
        <abp-modal-header title="Create New Product"></abp-modal-header>
        <abp-modal-body>
            <abp-input asp-for="Product.Name"/>
            <abp-input asp-for="Product.Description"/>
            <abp-input asp-for="Product.ReleaseDate"/>
        </abp-modal-body>
        <abp-modal-footer buttons="@AbpModalButtons.Save | @AbpModalButtons.Cancel"></abp-modal-footer>
    </abp-modal>
</form>
- The
abp-modalhas been wrapped by theform. This is needed to place theSaveand theCancelbuttons into the form. In this way, theSavebutton acts as thesubmitbutton for theform. - Used the abp-input tag helpers to simplify to create the form elements. Otherwise, you need to write more HTML.
ProductCreateModal.cshtml.cs Content:
using System.Threading.Tasks;
using Microsoft.AspNetCore.Mvc;
using Volo.Abp.AspNetCore.Mvc.UI.RazorPages;

namespace MyProject.Web.Pages.Products
{
    public class ProductCreateModalModel : AbpPageModel
    {
        [BindProperty]
        public PoductCreationDto Product { get; set; }

        public async Task OnGetAsync()
        {
            //TODO: Get logic, if available
        }

        public async Task<IActionResult> OnPostAsync()
        {
            //TODO: Save the Product...

            return NoContent();
        }
    }
}
- This is a simple
PageModalclass. The[BindProperty]make the form binding to the model when you post (submit) the form; The standard ASP.NET Core system. OnPostAsyncreturnsNoContent(this method is defined by the baseAbpPageModelclass). Because we don't need to a return value in the client side, after the form post operation.
PoductCreationDto:
ProductCreateModalModel uses a PoductCreationDto class defined as shown below:
using System;
using System.ComponentModel.DataAnnotations;
using Volo.Abp.AspNetCore.Mvc.UI.Bootstrap.TagHelpers.Form;

namespace MyProject.Web.Pages.Products
{
    public class PoductCreationDto
    {
        [Required]
        [StringLength(128)]
        public string Name { get; set; }

        [TextArea(Rows = 4)]
        [StringLength(2000)]
        public string Description { get; set; }

        [DataType(DataType.Date)]
        public DateTime ReleaseDate { get; set; }
    }
}
abp-inputTag Helper can understand the data annotation attributes and uses them to shape and validate the form elements. See the abp-input tag helpers document to learn more.
Defining the Modal Manager
Again, create an abp.ModalManager object by setting the viewUrl, in the JavaScript file of the page that will use the modal:
var productCreateModal = new abp.ModalManager({
    viewUrl: '/Products/ProductCreateModal'
});
Opening the Modal
Then open the modal whenever you need:
productCreateModal.open();
You typically want to open the modal when something happens; For example, when the user clicks a button:
$('#OpenProductCreateModal').click(function(){
    productCreateModal.open();
});
So, the complete code will be something like that (assuming you have a button with id is OpenProductCreateModal on the view side):
$(function () {

    var productCreateModal = new abp.ModalManager({
        viewUrl: '/Products/ProductCreateModal'
    });

    $('#OpenProductCreateModal').click(function () {
        productCreateModal.open();
    });

});
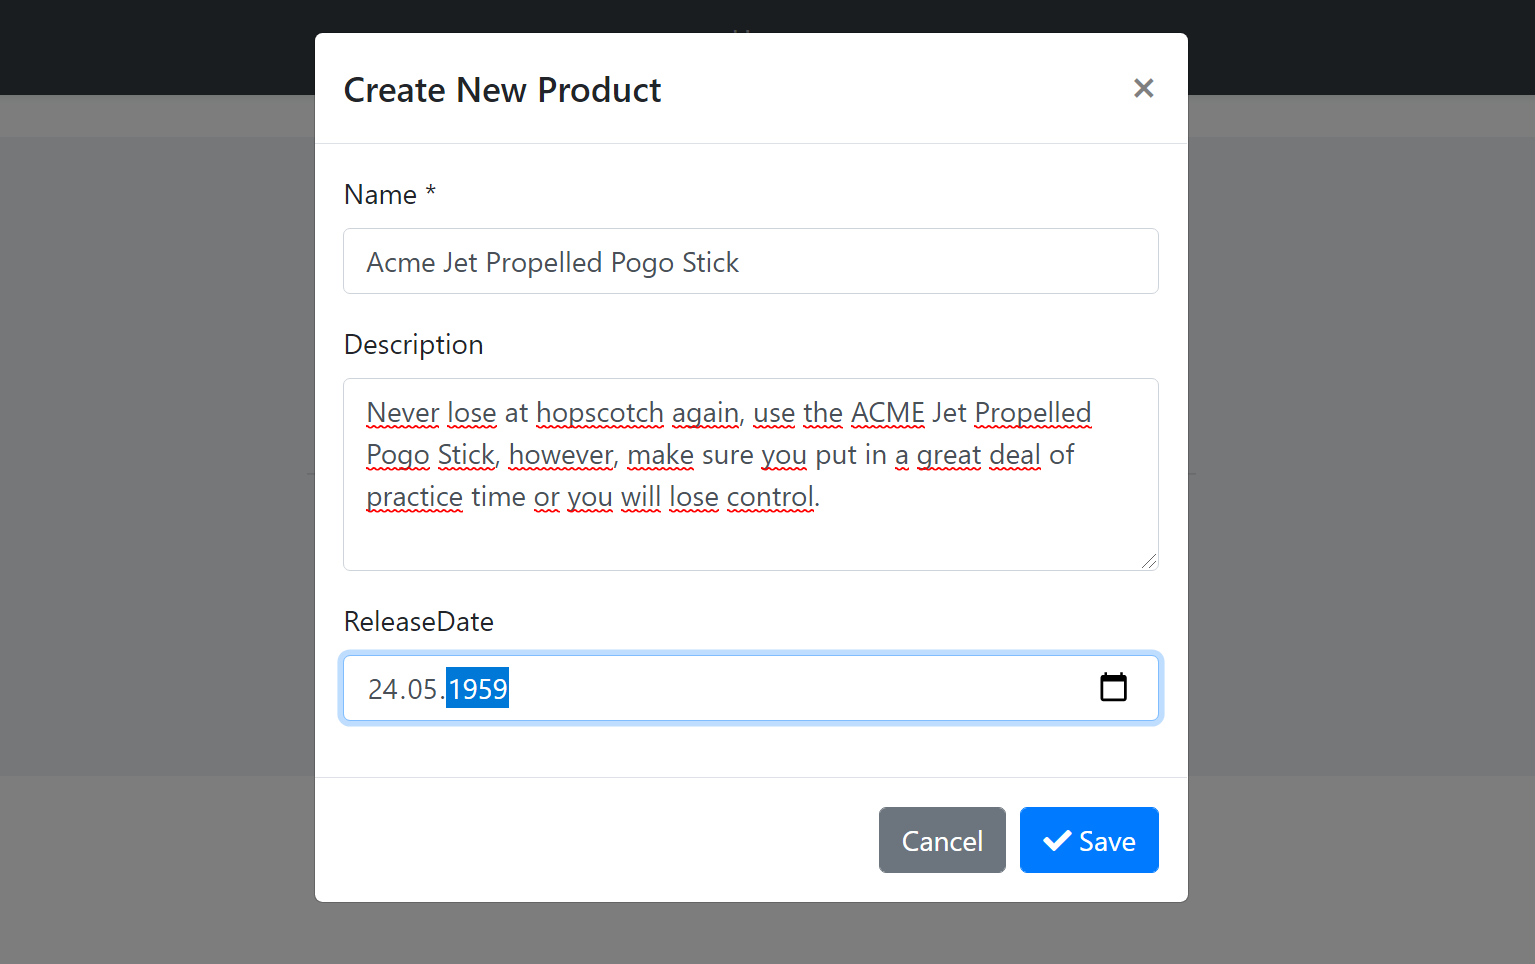
The resulting modal will be like that:
Saving the Modal
When you click to the Save button, the form is posted to the server. If server returns a success response, the modal is closed. Otherwise, it shows the error message returned from the server.
You can register to the events to be informed when form is saved or modal is closed. See the Modal Manager Reference section below.
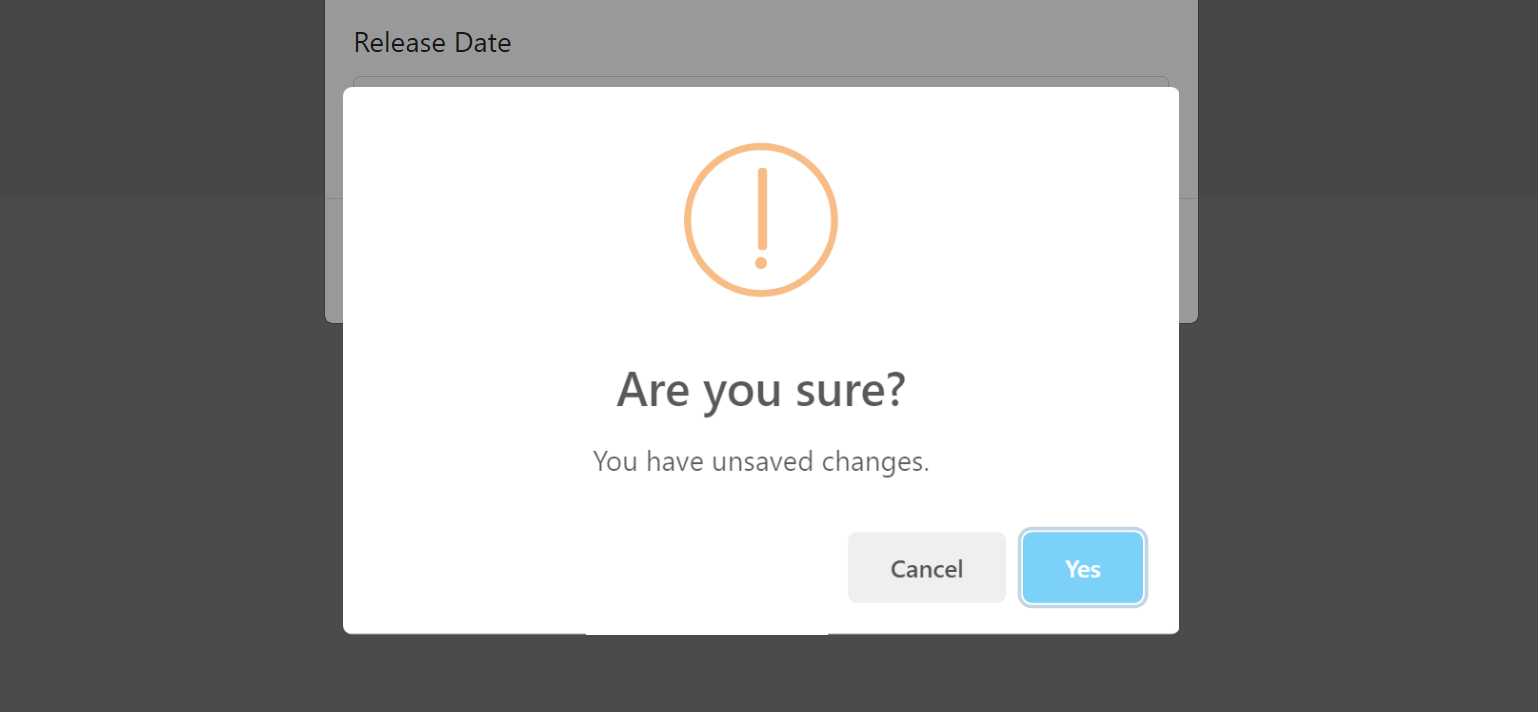
Canceling the Modal
If you click to the Cancel button with some changes made but not saved, you get such a warning message:
Form Validation
ModalManager automatically triggers the form validation when you click to the Save button or hit the Enter key on the form:

See the Forms & Validation document to learn more about the validation.
ModalManager Reference
TODO
Options
TODO
Functions
TODO
Events
TODO