2.6 KiB
ASP.NET Core MVC Template
Creating a new project
Go to the template creation page, enter a project name and create your project as shown below:
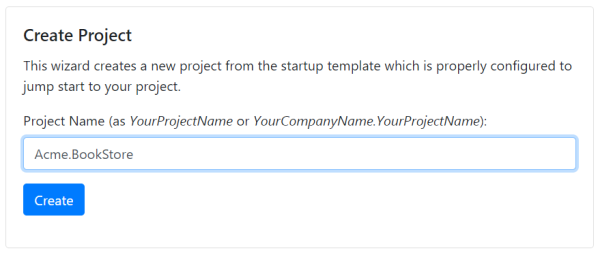
When you click the create button, a new Visual Studio solution is created and downloaded with the name you have provided.
Pre Requirements
The downloaded project requires;
The Solution Structure
Extract the zip file downloaded and open in Visual Studio 2017 (15.7.0+):

The solution has a layered structure (based on Domain Driven Design) where;
.Domainis the domain layer..Applicationis the application layer..Webis the presentation layer..EntityFrameworkCoreis the EF Core integration package.
The solution also contains unit & integration test projects properly configured to work with EF Core & SQLite in-memory database.
Creating the Database
Check the connection string in the appsettings.json file under the .Web project:
{
  "ConnectionStrings": {
    "Default": "Server=localhost;Database=BookStore;Trusted_Connection=True"
  }
}
The solution is configured to use Entity Framework Core with MS SQL Server. EF Core supports various database providers, so you can use another DBMS if you want.
Right click to the .Web project and select Set as StartUp Project:

Open the Package Manager Console, select .EntityFrameworkCore project as the Default Project and run the Update-Database command:

This will create a new database based on the configured connection string.
Running the Application
You can now run the application which will open the home page:

Click the Login button, enter admin as the username and 1q2w3E* as the password to login to the application.
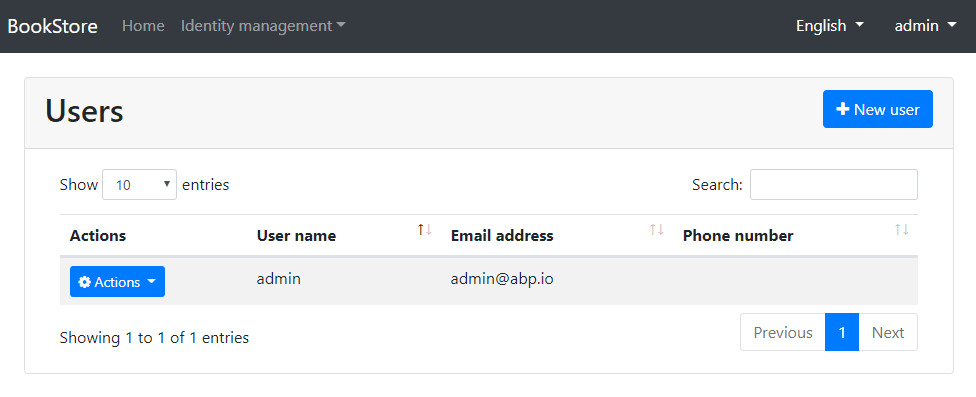
The startup template includes the identity management module. Once you login, the Identity management menu will be available where you can manage roles, users and their permissions.